
Hello there, people. Today, I am going to show you how to extract the essence from a useful plant, using either alcohol or olive oil. This is how you take a plant and turn it into a useful (and preservable) medicine.
For those of you who know nothing about herbal medicine, let me explain it for you in a nutshell...
Every plant has certain medicinal uses, if they are not poisonous, and so all you really have to do is find the right plant, and either ingest it, make a tea from it, or render it into a paste and put it on the afflicted area. If you are wondering how you render it into a paste, the most common way is to chew it up and spit it out, then smear it on the wound or whatever.
That is basically it.
The key that most people miss, however, is in knowing how to identify and find the right plants for the right purposes. THAT is no easy task. It requires a lot of careful research so if you have no patience for that, stop now.
Herbal medicine is, of course, the oldest form of medicine, and it is still one of the best. There are a great many simple ailments that can be treated just by applying the right herb.
Which brings up the question...why not just use the herb itself in its natural form, instead of making an extract?
The answer is that you can certainly do that if you want to, and if you are able. In some ways, using whole, fresh herbs is better. But, depending on your location, it might not be practical for you to go out and pick plants whenever you need them. If you live in a particularly urban or polluted locale, gathering wild plants will probably not be something you can do without considerable travel.
Even if you live in a rural area where wild plants are easy to get at, it is still very convenient to turn them into extracts for three reasons:
- You are concentrating the medicine and thus, making it stronger.
- It is nice to have something that you can just pull out and use without having to walk out and hunt for a certain plant.
- When properly made, an extract is good for at least a year. This allows you to make use of herbal medicines in winter, which you cannot do without preserving them in some way.
So anyway, enough with the introduction...this process is really simple, so it won't take long for you to learn.
Step 1: Find the Right Plant for the Right Job
Okay, for this step, you are going to have to do some research. There is no way around it, unless you want to risk poisoning yourself and dying a screaming, writhing death, choking on your own blood like a poisoned rat.
Now that I have your attention, allow me to explain that last statement.
When gathering herbs, it is ABSOLUTELY essential that you identify the plant beyond all doubt. If you have ANY doubt as to the identity of a particular plant, don't use it. There are a lot of poisonous plants out there, some of which can kill you within a matter of hours, and there are also a lot of lookalikes in the plant kingdom.
For an extreme example, let's look at the common plant known as Queen Anne's Lace:
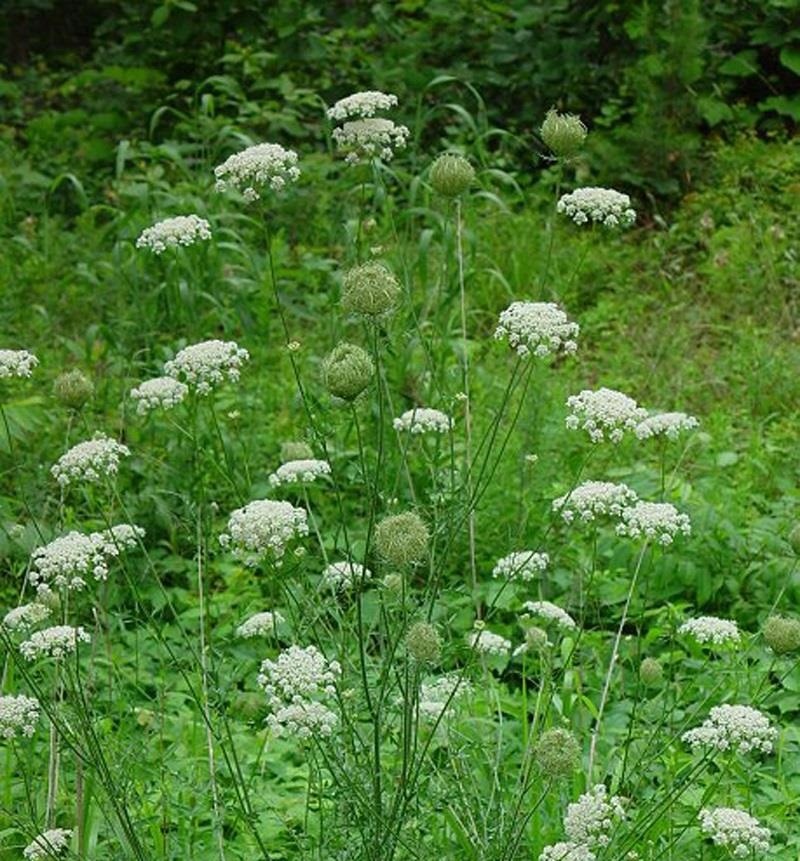
This plant is both edible and useful for medicine. Its root actually tastes a lot like a carrot, though much tougher. This is because Queen Anne's Lace is a variety of wild carrot.
I have eaten this plant many times. The young leaf buds are actually really tasty. So imagine my surprise when I learned that it had a poisonous lookalike!
The lookalike in question is Water Hemlock:
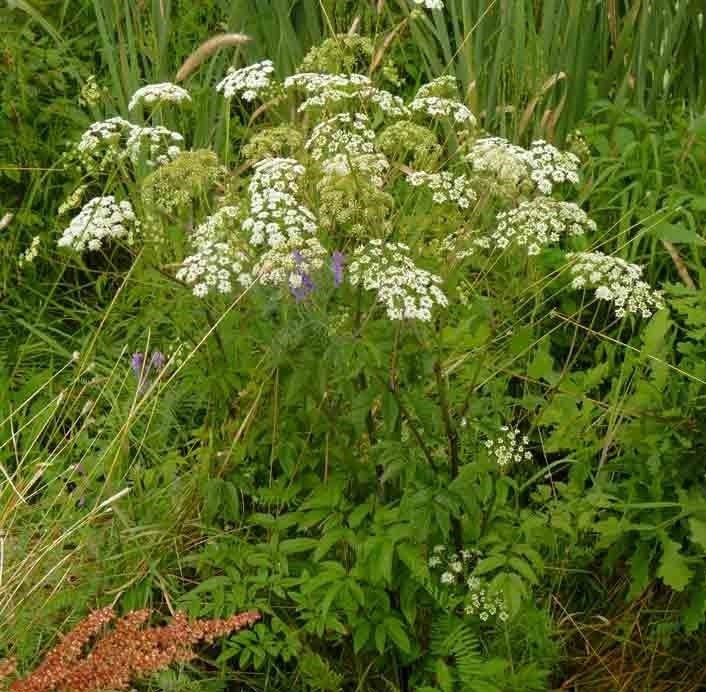
As you can see, they look a whole lot alike. Water Hemlock is the most poisonous plant in North America. There is no antidote, so if you eat this stuff, you are dead. End of story.
So, how do you keep from poisoning yourself? Simple, my friends...thorough self-education. The more you learn about the plant you are using, the safer you can be.
I can tell Water Hemlock from Queen Anne's Lace because both plants are very familiar to me. There are small differences between them that are not evident in the pictures above, and which are not that easy to explain. I wouldn't recommend going after Queen Anne's Lace to most people, because of the risk of accidentally getting some Water Hemlock.
So please, before you decide to use a particular plant medicinally, make sure you do your research on that particular plant with the utmost diligence. Find out EVERYTHING you can. Read every word you can find about that plant. Libraries and the internet are the easiest ways, of course. Become familiar with that plant, down to the smallest detail. Eventually, the anatomy of that plant will become as familiar as the back of your hand, and your chances of accidentally poisoning yourself will go down to almost zero.
Your number one priority during this step is to make 100% sure that you can identify that plant beyond any doubt. Some good books with good pictures can help, but in the end it falls upon you and your own judgement to keep you safe.
Now then, putting all this poisoning talk aside, let's talk about the good things you can do with plants. If I tried to make a list of all the health problems that can be solved (or at least treated) with some herb or another, this article would be longer than a Stephen King book.
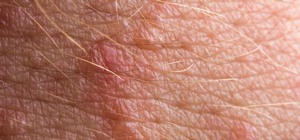
Which plant you use will depend entirely on what you need. For instance, wild plantain (plantago major) is helpful for the healing of any open wound, relieves the pain of cold sores when you chew the leaf, draws out poisons, and is good for skin problems on top of all that. So, if you have a cold sore, or any other open wound, and you want to make it heal faster, plantain is a good choice. It is a common plant in most parts of the world, so chances are, you can find some.
If you want a simple pain reliever, I recommend using the bark of the willow tree. For those of you who have not read my article on willow-bark aspirin, you might want to check it out for more information.
If you have a burn that you want to treat, oak leaves would be a good choice. If you have allergies, the purple deadnettle might be what you want. The list goes on and on and on, because there are so many thousands of species of plants in the world.
The possibilities are nearly endless. Like I said, you will simply have to learn the plants in your area and do a lot of research to make sure you know how to identify and use them. I wish I could make that part easy for you, but I can't.
There is one way to avoid all risk of misidentification...and that is to grow the plants yourself. This may or may not be an option for you. In most places, though, I would think you could at least have a window-box to grow one or two. Another plus of growing your own is that you can learn how to identify the plant at all stages of its growth.
Step 2: Collect the Plant
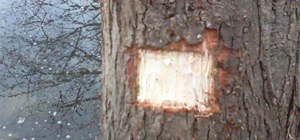
Now that all your research is done, it's time for the easy part. All you have to do is find an area where your target plant is growing. It might be a small stretch of woods, a public park or nature preserve, or just your backyard. But there is one catch: you want your area to be as unpolluted as possible.
Polluted areas can (and often do) have toxic substances in the soil, and the water, and thus, the plants are living in and feeding upon toxins. Nevertheless, nature is very adaptive and so, plants still often manage to grow in a polluted area and sometimes even thrive...but that doesn't mean you want to come along and eat the plants.
So, avoid areas that are plainly polluted, such as roadsides, garbage dumps, industrial dumpsites, etc. It is a good rule to avoid any area that has a chemical production facility anywhere nearby.
Most plants concentrate their essences in the root, except at sunrise and sunset. So if you don't want to harvest the whole plant, make sure you do your work around sunrise or sunset.
I have found that It is best to harvest the whole plant, roots and all, if you want maximum potency, but never take more than you need! This is disrespectful to nature, as well as foolish. Another rule is to never deplete a patch. For instance, if you find a patch of wild dock and you want a bunch, don't just clean out the whole patch. Take a few plants out of that patch and move on to another patch to get the rest of what you need.
It might sound like some bush-hippy crap, but just remember that nature sustains us, no matter how far we separate ourselves from it, and if we use it up indiscriminately, as people have done in the past, we are only screwing ourselves, our fellow human beings, and even our descendants.
So, anyway, I usually bring a small hand spade, so as to get as much of the root material as possible....
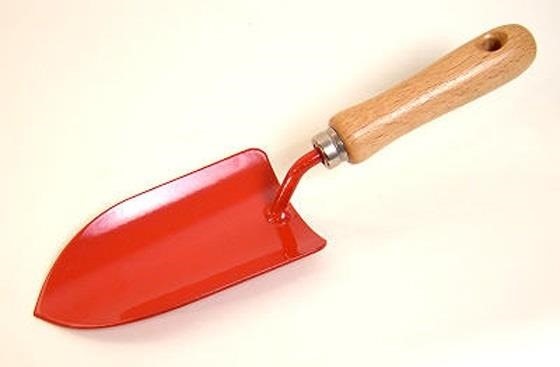
But a knife or even a sharp stick will do in a pinch. Once you have dug the plant out of the ground, shake the dirt off as best you can. put your harvested plant in a bag, and remember, only one species of plant to a bag! you don't want to mix these herbs up even the slightest little bit.
What I mean is, if you pick, say, some dandelion and put it in a bag, don't put anything else in that bag except other dandelions. Now, take your bag or bags of herbs home and move on to Step 3.
Step 3: Prepare the Plant
Put a large kitchen strainer in the sink or bathtub, and dump your bag into it. Run the water over it and rub it with your hands to wash off as much dirt as possible.
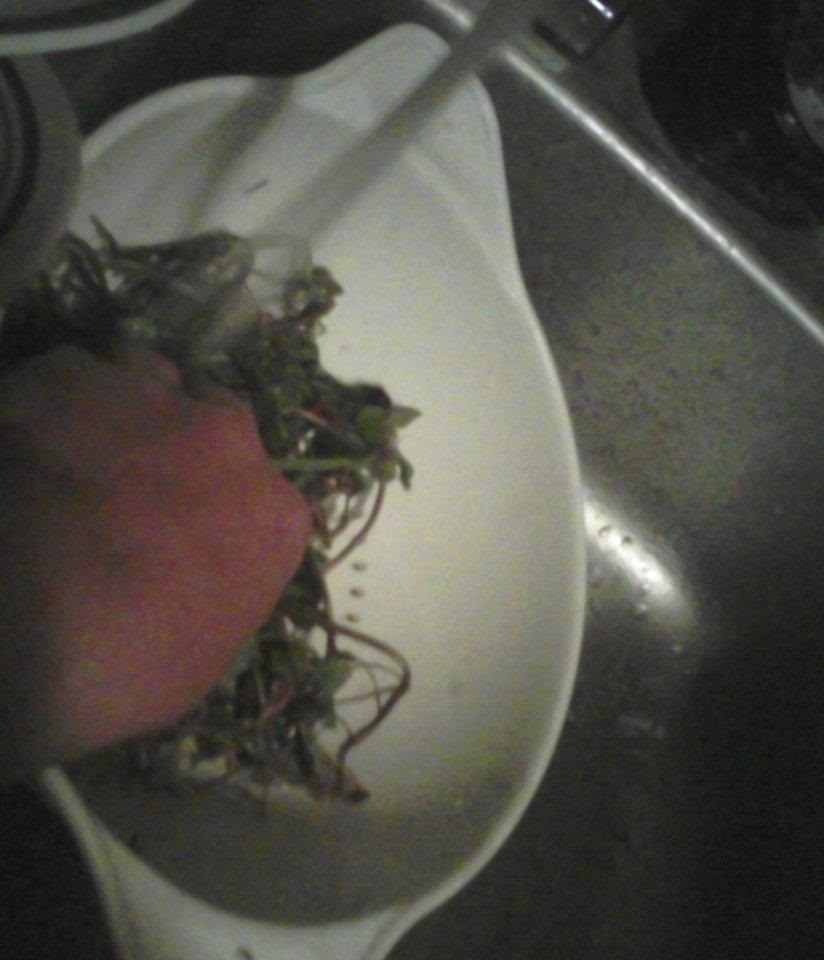
After a minute or so, turn off the water. Now, get some real sharp scissors and start cutting the plant up.
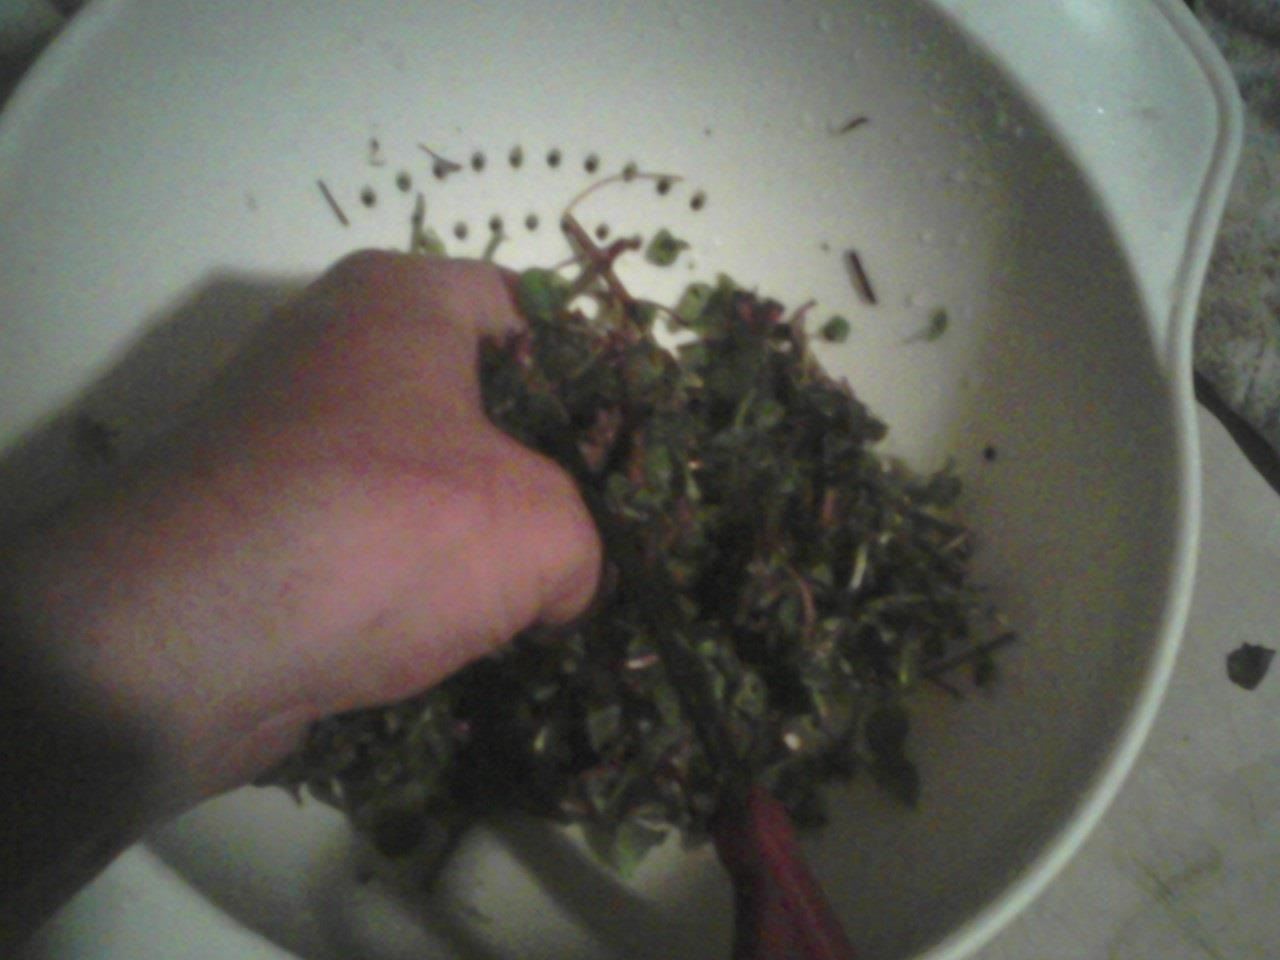
I like to grab it by handfuls and cut it like this. Be careful, though, because you could cut your hand if you aren't careful. I always have been careful about this, so I don't know how bad it would be, but anyway, just be careful!
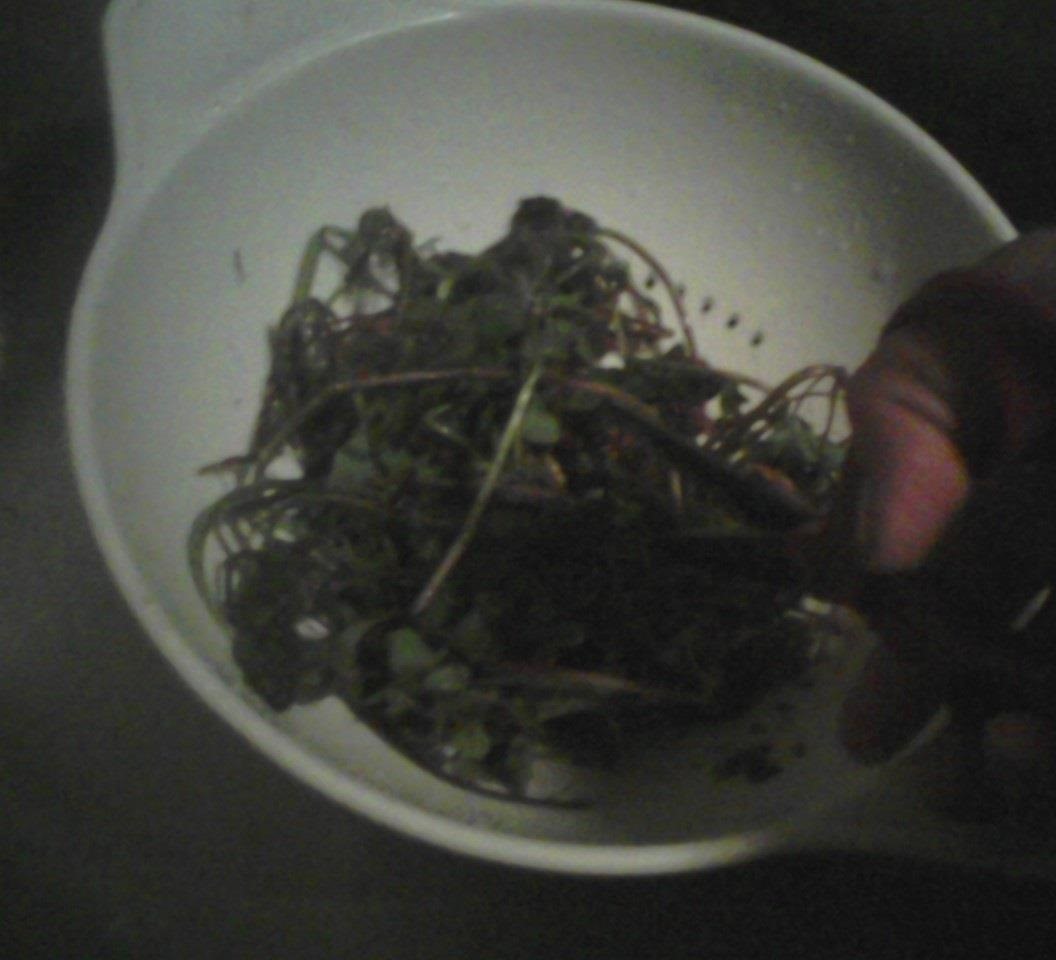
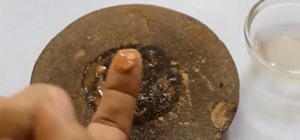
Now wash it again. You will probably lose a few tiny pieces through the strainer. Don't worry about it. You probably won't be able to get every single bit of dirt from the roots. Don't worry about it. Whatever you don't wash off now will be filtered out later. Still, get it as clean as you can, and chopped nice and finely, about like this:
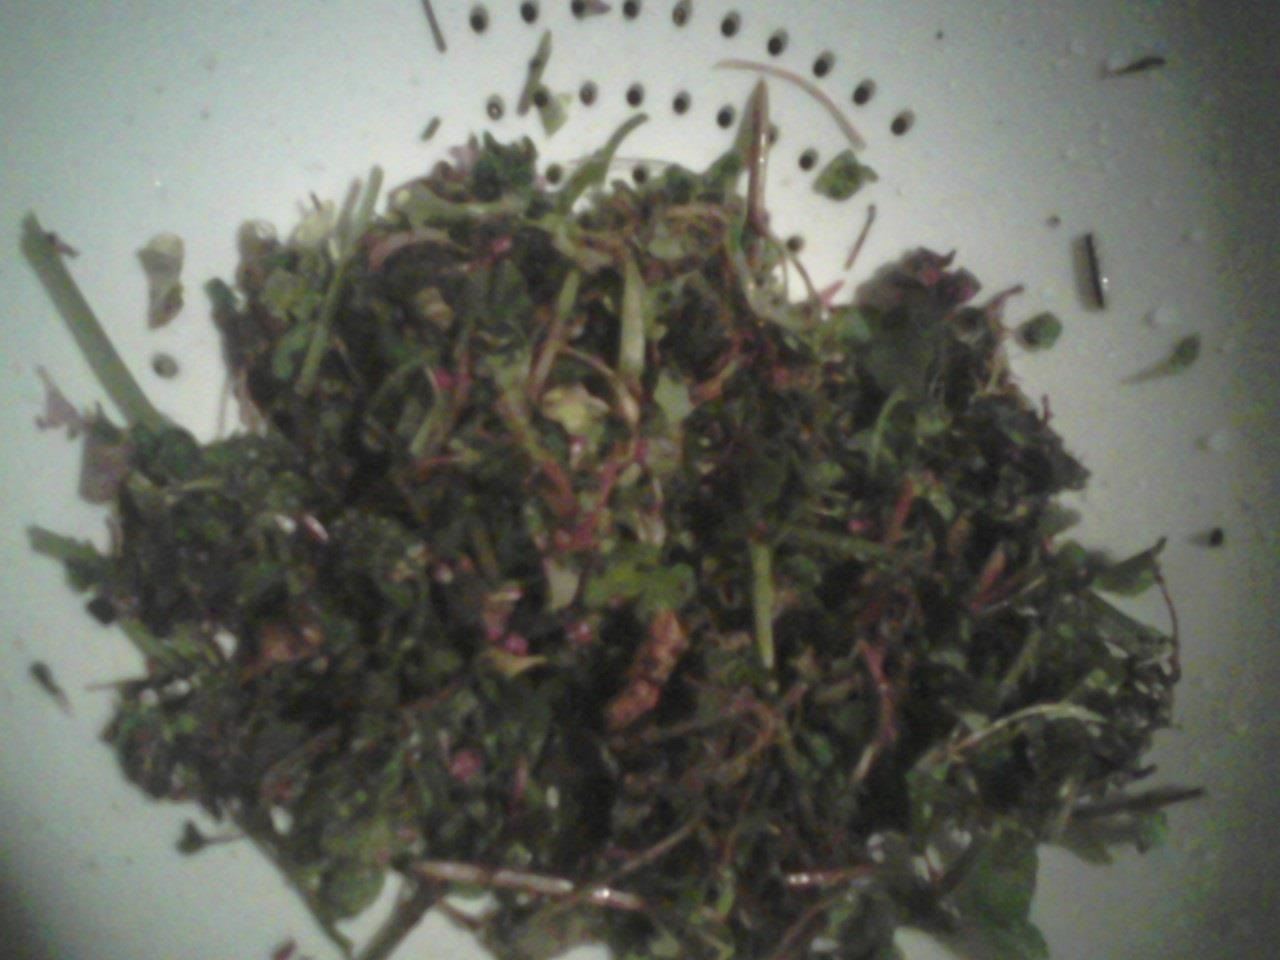
In case you were wondering, this is purple deadnettle that I am preparing in the picture.
So, with our herbs clean and chopped, we are ready to proceed.
Step 4: Bottle the Stuff
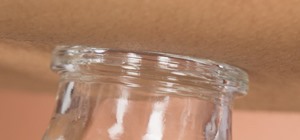
For this step, you will need at least two mason jars with lids, and either some olive oil or some 100-proof vodka, like the swill in this picture:

What you have here is a 50/50 solution of alcohol and water, with little to no impurities. You might not get this brand, but make sure it is 100 proof vodka, and completely clear in color.
As for the oil, make sure it is pure as well. Most of the time, it will say "100% pure" or something like that on the bottle, like this one:
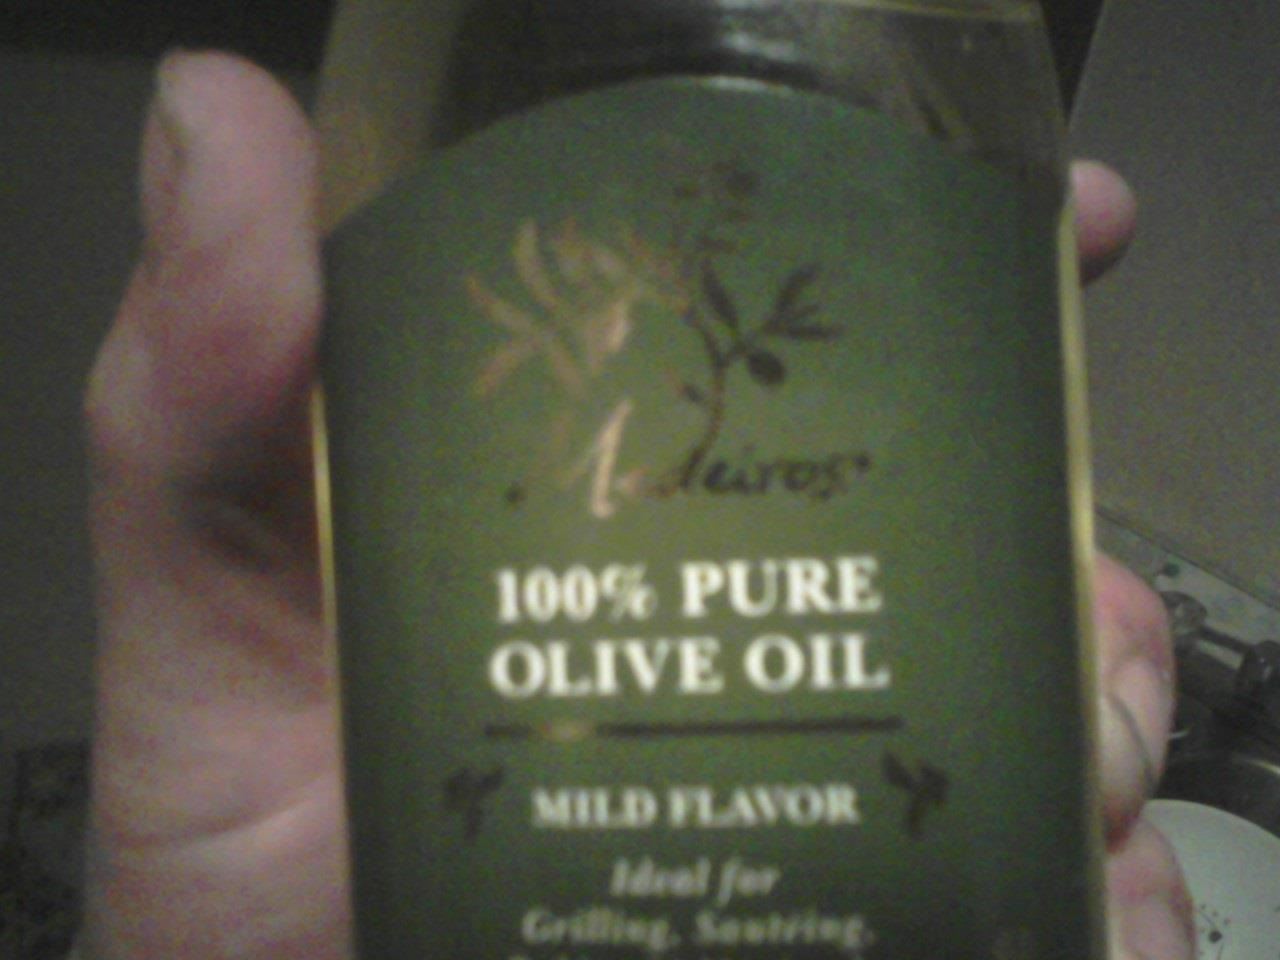
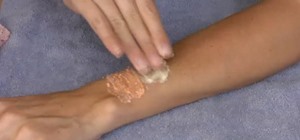
Before we go any further, I would like to say a word about the difference between an oil extract and an alcoholic extract: to put it simply, an oil is better to use on an external problem, such as a rash, sore, or open wound. A tincture is better for internal use. So, think about how you are planning to use the herb, and then decide whether you want a tincture (an alcoholic extract) or an oil.
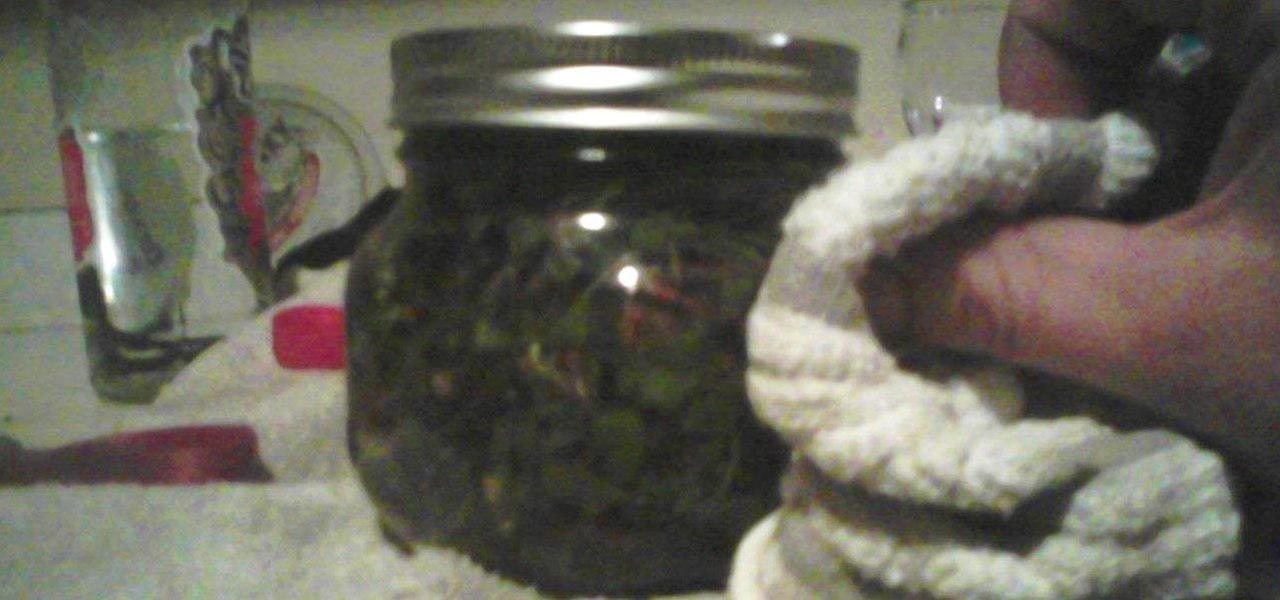
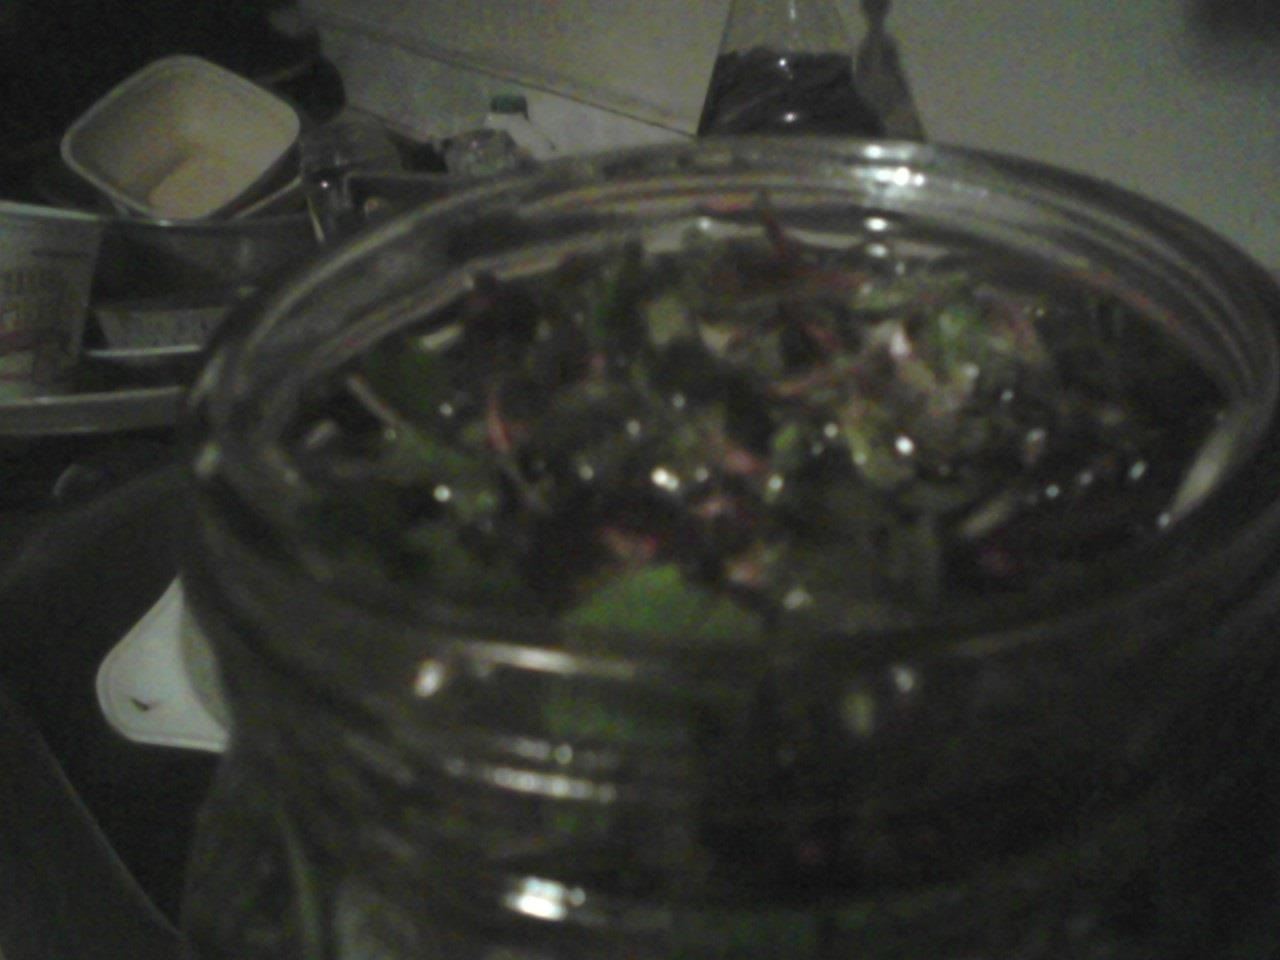
Now all you have to do is take your chopped herbs and put them in a mason jar.
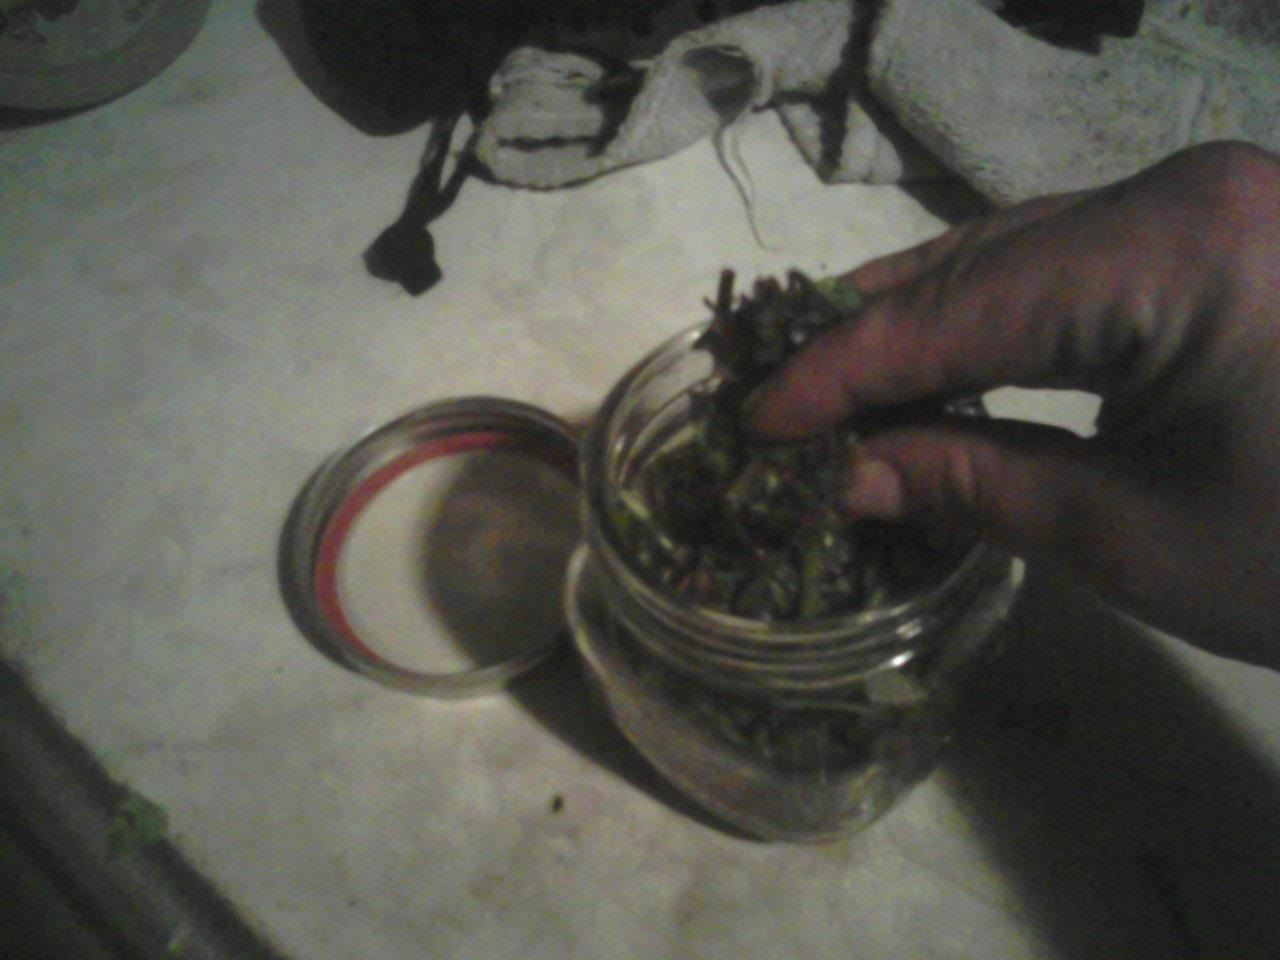
Put enough in the jar so that it is filled without being packed down. You never pack it down. Just place it in there until it's full, pat the top down just a little bit, and the add your extracting medium...meaning either alcohol or olive oil.
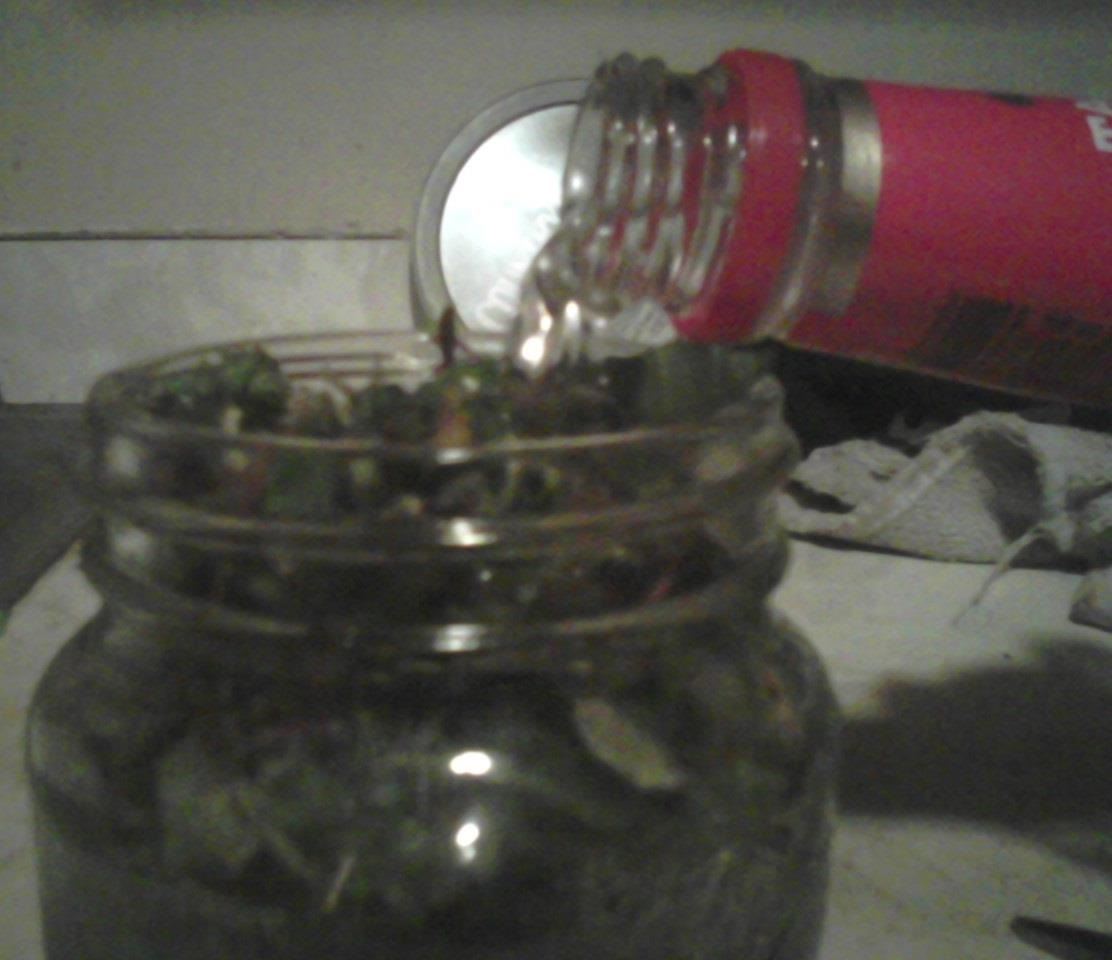
Fill it almost all the way to the top.
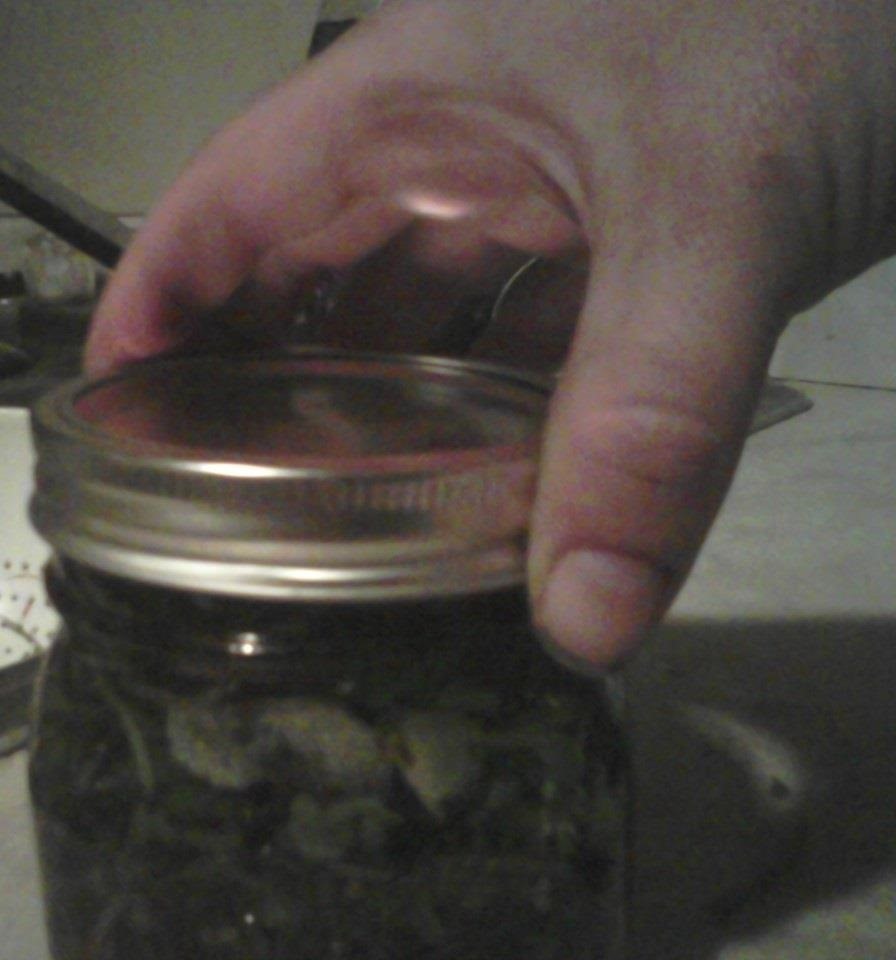
Place the lid on. Tighten it up real good.
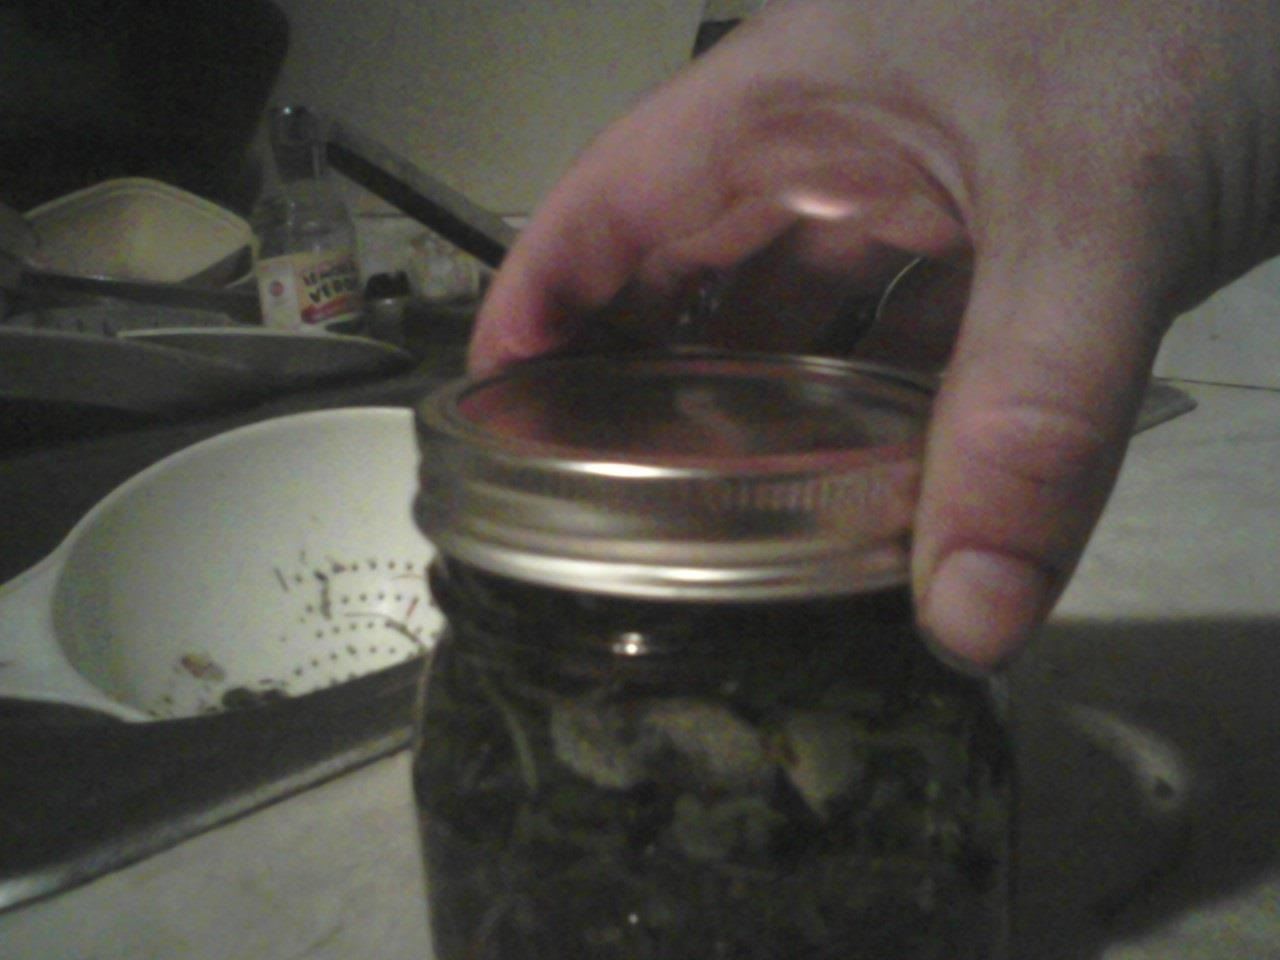
To test and make sure that the lid is tight enough, wipe the whole jar off with a towel.
Then shake the jar for about ten seconds.
If there is any leakage going on, you will be able to see it.
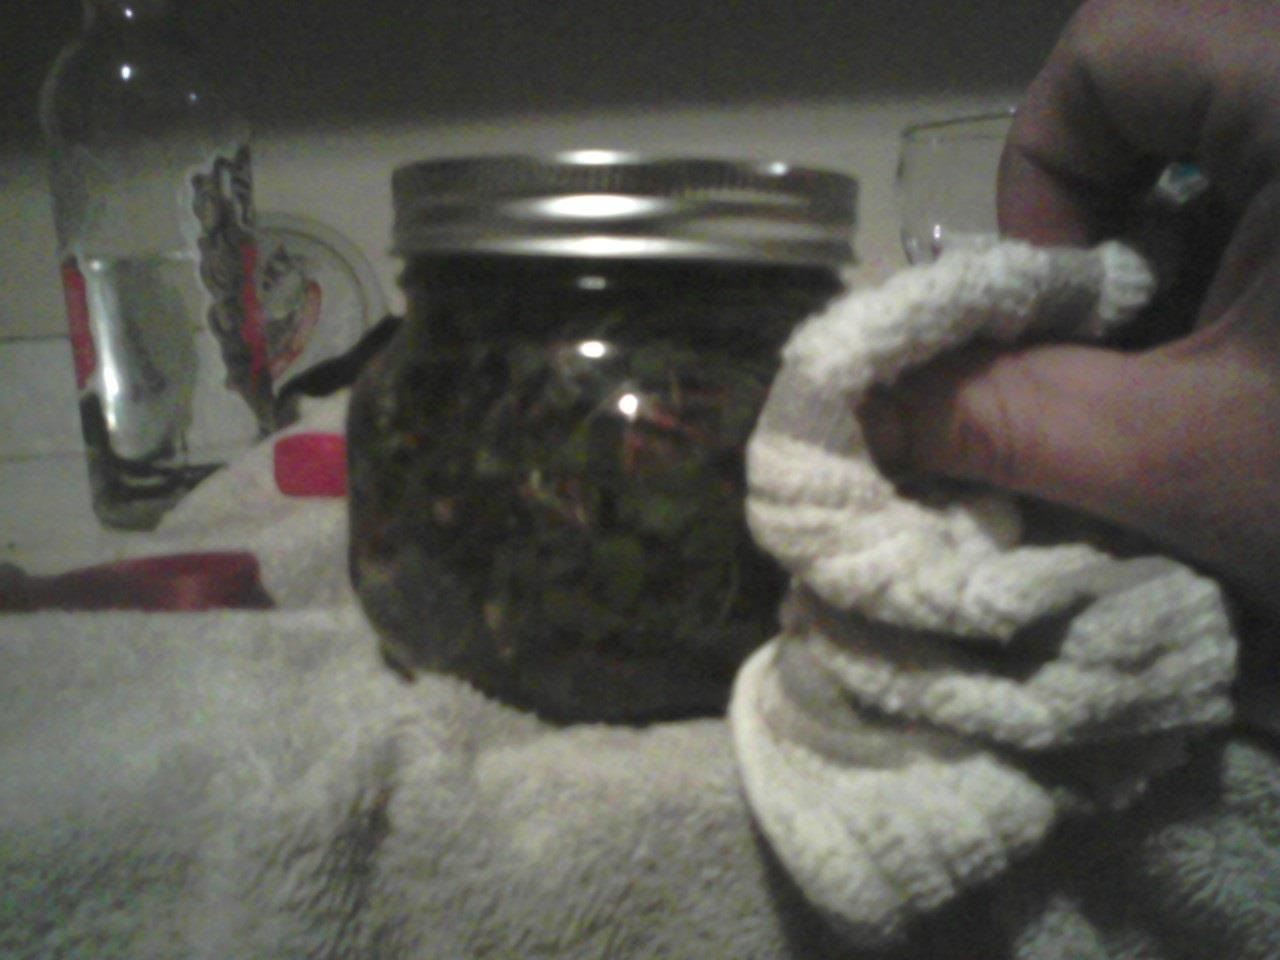
The final step is to label and date it. I use a piece of masking tape because it's easy and cheap.
You need this label because this jar must sit for three weeks before it is ready to process further. So give it an "in" date (the date you prepared it) and an out date (3 weeks from the day you prepared it).
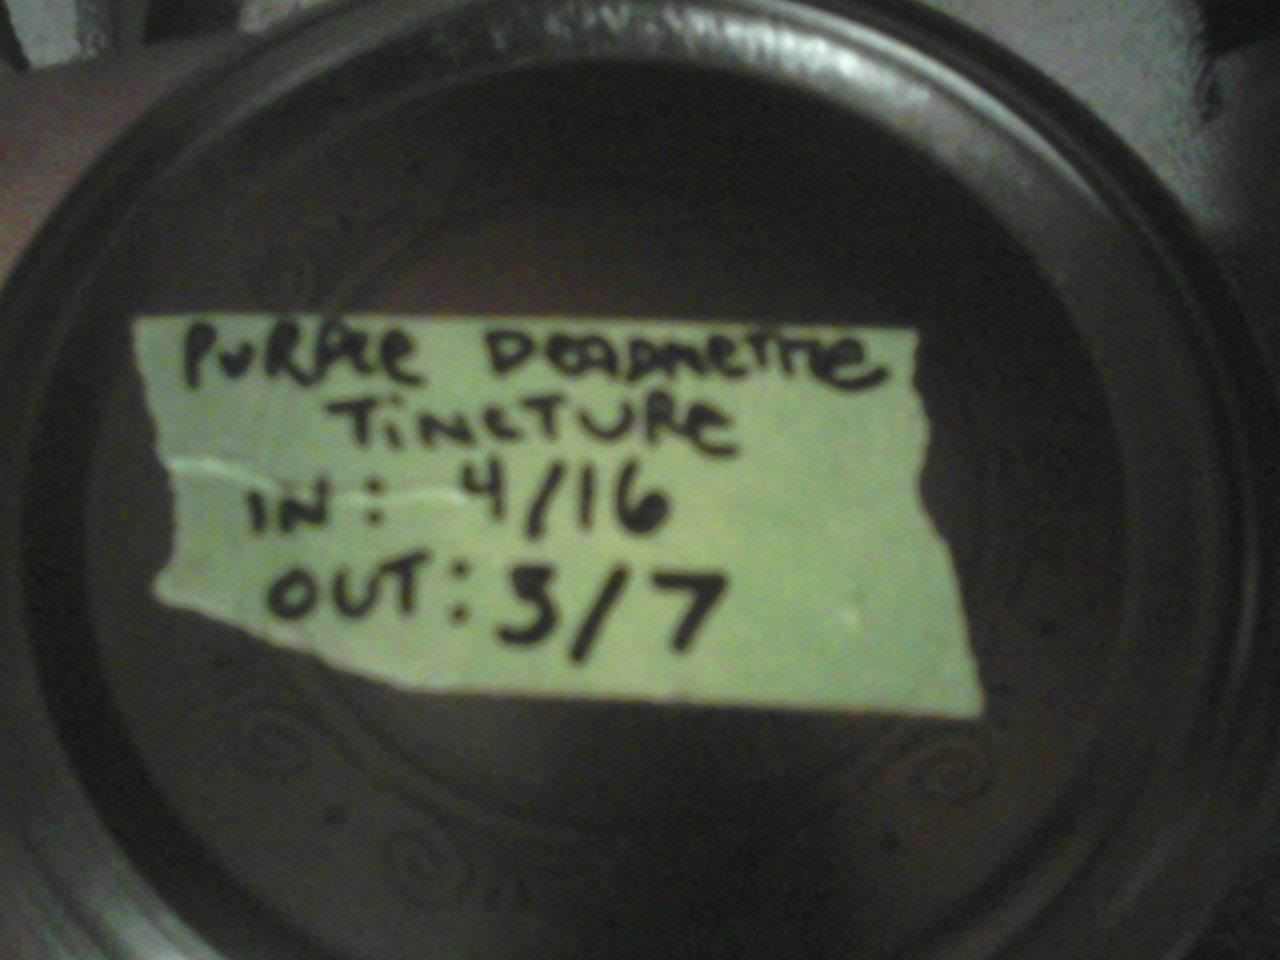
Yeah, I know my fives look kind of like threes. Don't worry about that either.
So, anyway, that is almost it.
Step 5: Steeping and Filtering
Let the jar sit for three weeks, but MAKE SURE YOU SHAKE THE JAR EVERY DAY. It is absolutely critical that you shake it every day so that the top doesn't grow moldy.
As the plant material soaks up the medium, the fluid level in the jar will go down slightly. This will expose a small amount of the plant material above the liquid. Shaking it every day keeps it from growing mold on this top layer, which will ruin your entire extract and make it smell like rotten garbage.
This leads me to the subject of containers. I have recommended mason jars, and that is all I would recommend. I have tried other kinds of jars and they all went at least slightly putrid, even when sealed with hot wax.
When you shake it, make sure you shake it well. Here is a video of me shaking one of my jars:
You don't have to do it exactly the way I do, but this will give you an idea of how much you need to shake it. The easiest way to help yourself remember to do this every day is to simply have a set time each day when you shake the jars. I just do it when I first wake up in the morning, but, as you will.
Now, one other thing...
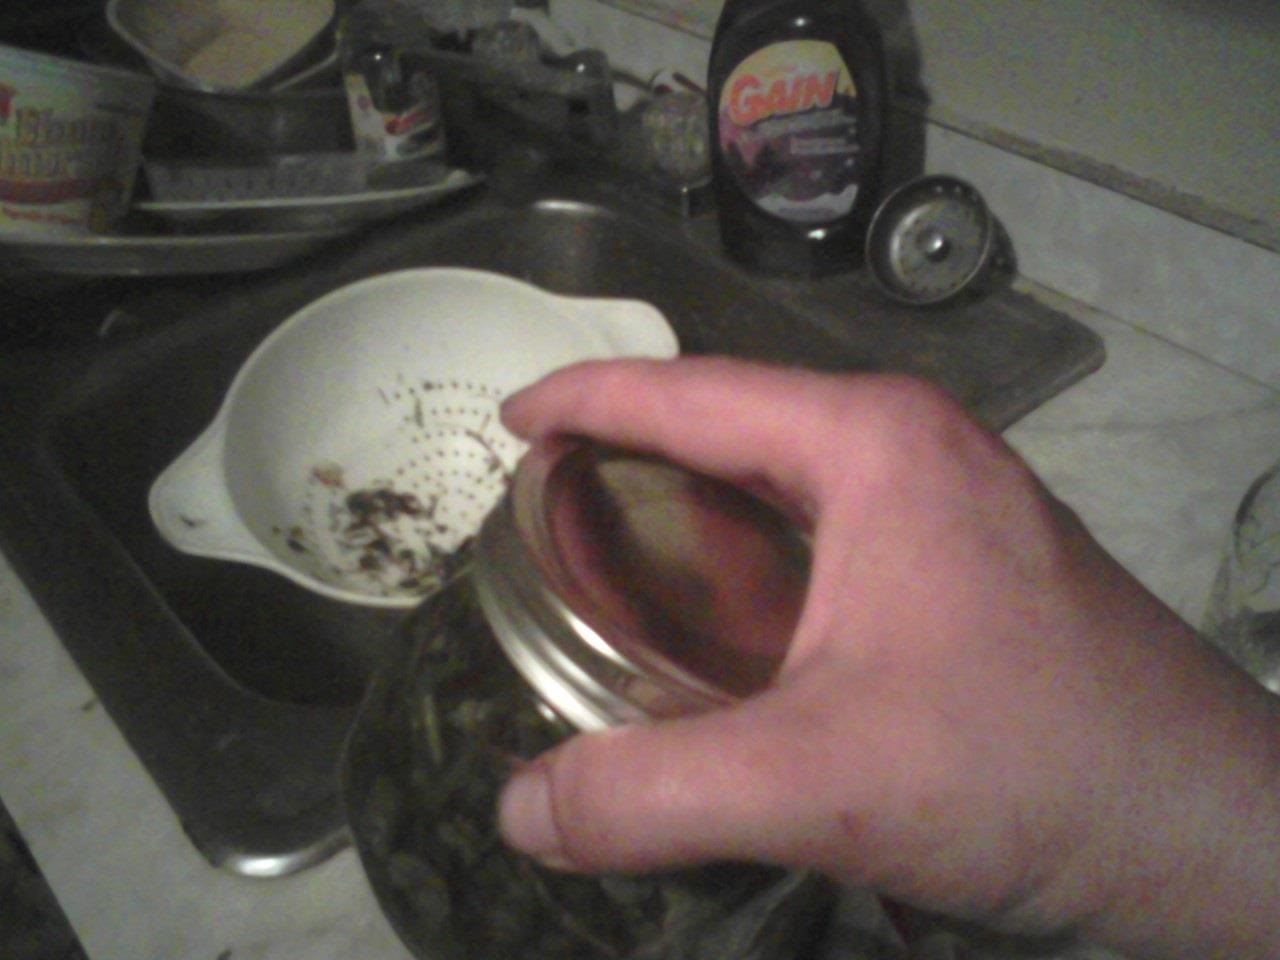
When the three weeks are up, you will need to filter out all the solid material. This is very easy. All you have to do is take a funnel and stick the small end into another mason jar. Then, put two coffee filters in the big end. Now, you can run the oil or alcohol through the filters, and it will collect in the jar. All the solid material will be filtered out. Once this process is completed, let the jar sit undisturbed for about an hour and see if a layer of solid material forms on the bottom of the jar, which it likely will. You have two options for removing this material.
- Take a turkey baster and draw out all the liquid except for the last half-inch or so. Do not move the jar at all while you do this, or you will stir the solids up again.
- Repeat the filtering process with new coffee filters, letting the jar sit for an hour each time, until no solid can be seen on the bottom. You will need to re-wash your mason jar each time.
Of the two, I generally prefer option #1 because it takes less time, but either way is good. The bottom line is to remove all solid material because that is what will rot and make your mixture go putrid over time. You must end the process with a clean substance, meaning that all solid material must be gone. Make sure you wash your mason jars after using them for the same reason.
So anyway, that about wraps it up. The actual steps involved in this process are easy, but to make it work right requires an understanding of what is going on, and I hope that I have given you that.
Until next time, I bid you adieu.
Just updated your iPhone? You'll find new emoji, enhanced security, podcast transcripts, Apple Cash virtual numbers, and other useful features. There are even new additions hidden within Safari. Find out what's new and changed on your iPhone with the iOS 17.4 update.


2 Comments
Hi,
I would like to prepare a shampoo, at home. These are the ingredients of shampoo that is in the market: Organic aloe vera juice (from concentrate)°, bentonite clay, organic extracts° of organic linden flower°, organic nettle°, organic chamomile° and organic shavegrass°
And I would like to make an extract of those plants (at least linden flower, nettle and chamomile) and then mix it with aloe vera and bentonite clay.
I don't know how can I exactly extract those plants. With alcohol or olive oil. I've read in your article that for external use it is better to use olive oil. What to you say? Any suggestion?
Thank you very much for your answer and time,
Best regards,
Victor Budeanu
so after the steeping process how do I concentrate the liquid alcohol to get rid of the alcohol and leave the most concentrated extract? boil it down or simmer it?
thank you
Share Your Thoughts